Introduction
Microsoft Office 2010 ribbon applications like Word, Excel and Outlook introduced an improved way of organizing common commands like Save As and Print. A new Backstage view window replaced the application menu presented in previous versions of the Office applications. The feature aims to make the commands and information in the Backstage view more self-explanatory and fit with the WYSIWYG concept and at the end improve the overall aesthetic and usability of the application.
Elegant Ribbon starting from version 3.7 allows you to include similar functionality in your applications.
Adding a Backstage View to Your Application
Adding a Backstage view in design mode is easy and straightforward. Open a form in design mode. Find the BackstageView item under the Elegant Ui tab in the Toolbox (see Figure 1) and drag-and-drop it onto the form.
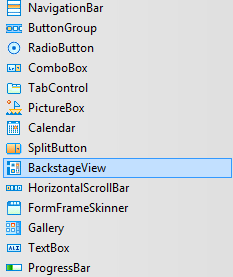
Figure 1 BackstageView icon in the Toolbox
You will see that a Backstage view with a default page appeared on the form (see Figure 2).
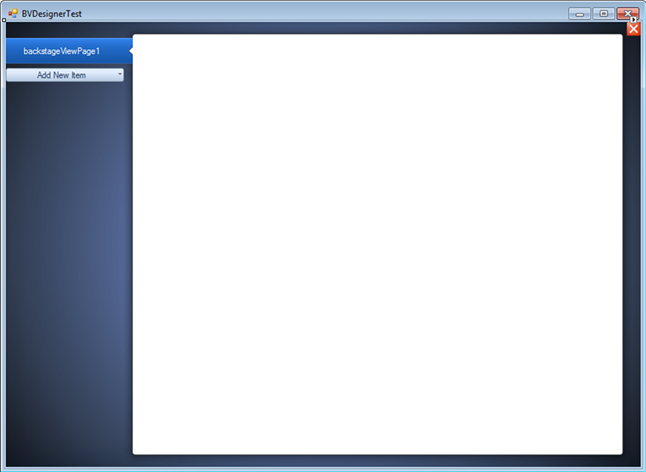
Figure 2 Newly created Backstage view on a form
You can add more items to the left-side pane of the Backstage view from the Add New Item drop-down (see Figure 3).
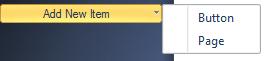
Figure 3 Add New Item drop-down
Having a number of items in the left-side pane (see Figure 4) you can change their order through the Control Collection Property form invoked from the ellipsis button next to the Items property in the Properties window.

Figure 4 New items in a Backstage view
Through the Properties window, you can customize the appearance of each button and page in the Backstage view (see Figure 5).
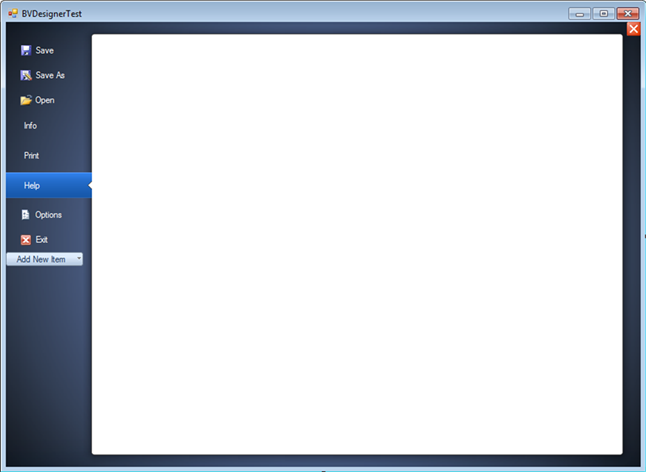
Figure 5 Customized buttons and pages in a Backstage view
To hide a Backstage view, click the red Close button in its top right corner. While in design mode you can also toggle its visibility by selecting Show/Hide Backstage View in the context menu over the form (see Figure 6).
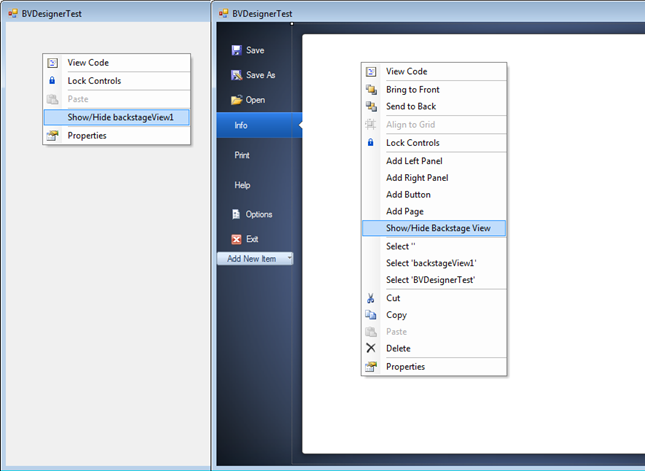
Figure 6 Show/Hide Backstage View item in the form's context menu
Adding Content to a Page
You can add different controls to a page in a Backstage view. These include buttons, toggle buttons, drop-downs, split buttons, separator, slider and other controls. Some Elegant controls have a custom appearance in order to provide a consistent visual look. In Figure 7 you can see a page with separators, drop-downs, labels and a panel. The latter serves as a container for those controls.
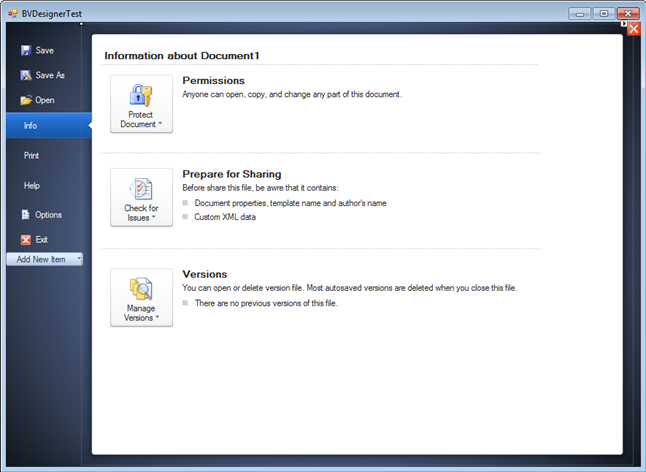
Figure 7 Backstage view page with controls
Sometimes you may need to split controls on a page in two groups. For example, you may want to separate printing settings from the corresponding print preview or separate customizable properties from static information. In such cases you can add a special panel to a Backstage view page either to the left or to the right (You can also add both panels if you need it). There are two items in the context menu of a Backstage view that allow you to do that: Add Left Panel and Add Right Panel (see Figure 8).
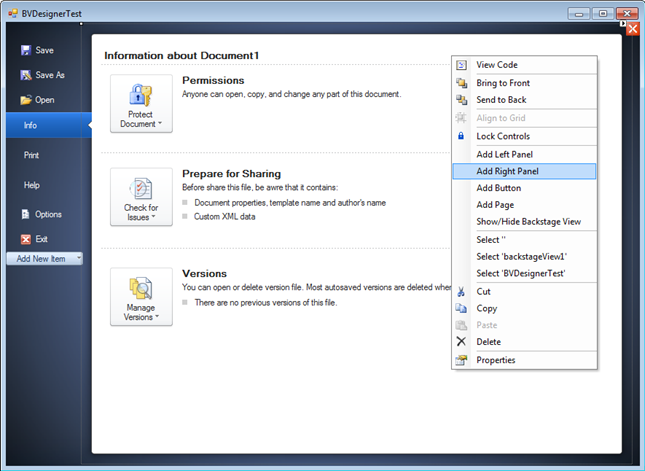
Figure 8 Selected Add Right Panel item in the context menu
Having added a panel, you can populate it with controls from the Toolbox. In Figure 9 you can see a right panel with the following controls: a picture box, labels and a drop-down with its FlatStyle property set to FlatStyle.Flat.
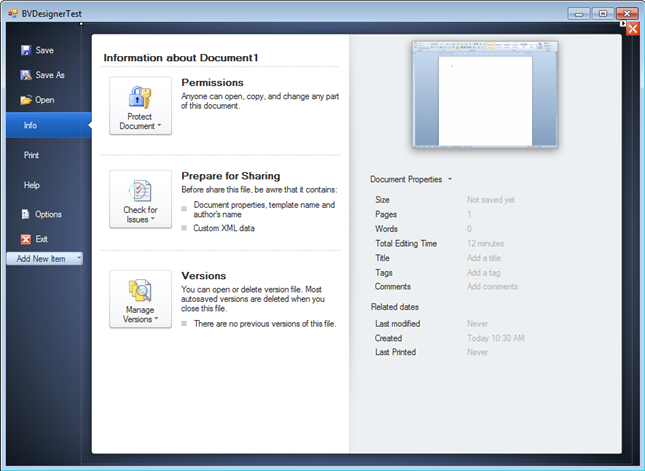
Figure 9 Right panel with controls
Using a Backstage View with a Ribbon
In the versions of Elegant Ribbon up to 3.6, clicking the application button resulted in the application menu to be shown up. Starting from version 3.7 you can show a Backstage view instead by setting a new Ribbon.BackstageView property. In design mode you can set this property in the Properties window or you can click the application button and select one of the options from the popup menu (see Figure 10).
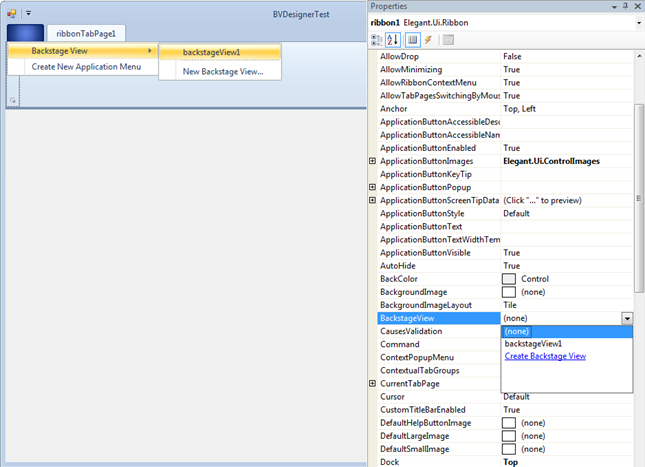
Figure 10 BackstageView property
Once a Backstage view is assigned, you can show and hide it by clicking the ribbon's application button (the File button in the Microsoft Office 2010 applications).
When a Backstage view is used together with a ribbon and you need to show/hide it programmatically, you should use the Ribbon.BackstageViewVisible property rather than BackstageView.Visible. That is because the Backstage view has ribbon-specific bounds that are set inside the Ribbon.BackstageViewVisible property.
Visual Styles
The Backstage view supports a set of different visual styles that can be changed through its Style property (see Figure 11). When a Backstage view is used with a ribbon, changing the ApplicationButtonStyle property of the later also affects the style of the Backstage view.
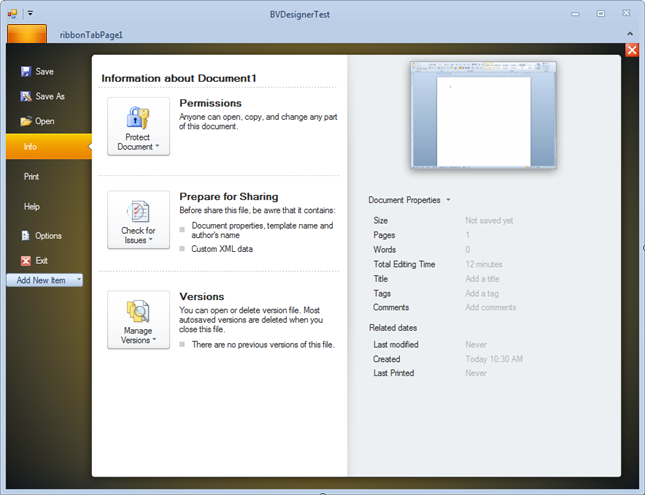
Figure 11 Backstage view with its Style set to Orange
|